Let’s dive into how to design a therapy office. From scratch! This article is for those of you who are total interior design newbies. I also have some tips and hacks to share on how to design on a budget!
Prefer to watch instead? Check out the video version of this article below:
In today’s article I want to offer all my best tricks for how to design a therapy office to make it a lovely and practical space to meet with your clients.
Step #1: Set a budget
- Please don’t skip this step!
- It is so easy to blow a ton of money on designing an office.
- But, you actually don’t have to spend a ton of money to make it a great office space.
- I fully furnished my first office in 2017 for $1200. Now looking back I have absolutely no idea how I managed not to break the budget. But, I didn’t feel like my office was missing stuff in it.
- If you’re starting off with a completely empty office space, a $1000 budget will feel like a tight squeeze, but it’s doable.
- It’s easy to blow through $2000 quickly but, if you shop primarily at budget stores like Ikea and Wayfair or Amazon then you’ll definitely be able to stay within that budget.
- My encouragement is not to feel pressure to go any higher in your budget than what you reasonably have. You can always upgrade or fill in pieces as you grow and the expense is less of a burden.
Step #2: Pick a design style
- I wish people talked about this more when it comes to designing a therapy office.
- When an office space becomes overly eclectic: a modern therapist chair with a boho couch and a french country style curtain, it starts to look cheap and kitchy. Unless kitchy is your design style, in which case I say: embrace it!
- I would start by scrolling through a website that goes over the most popular design styles. See if any of the images catches your eye.
- Once you’ve found a design style that fits you the best, you can do a google search like: “essentials of ____ interior design”.
- Look through the search results. Find an image that fits what you hope your office will look like. What’s the primary upholstery color? What kind of wood stain is used? What kind of textures do I see in the photo?
Step #3: Measure everything!

- This is SO important.
- I can’t emphasize how incredibly helpful it is to have measurements of every single dimension of the office.
- Don’t forget to mark down details like where an outlet is located on the wall, how tall your ceilings are, and how high a window is off the floor. Any tiny measurement is well worth taking.
Step #4: Use an app to design your office
- I’ve used RoomSketcher to design several office spaces. There are many other options out there, but this one has a free version that does the job!
- Because I’m not a professional designer I don’t look at dropping the right colors and textures and exact pieces of furniture into an app like Room Sketcher.
- At this point, I’m just looking at the general flow of the room. My inner monologue may sound like: “A couch goes here. A desk goes there. A lamp in this corner. How does it all look? I think I might like a bookshelf if it fits. Shuffle it around. What if we did the desk over there instead?”
Step #5: Think about specific clients
- Take into consideration your specific clients.
- What’s going to work for me working with individual adult clients is going to be different than someone who does play therapy with kids, or group therapy.
- Think of what practical items you might need that are specific to the work that you do. Do you need space on the floor to sit and play? Many seating options?
- Think of the ways you use your office in session: things you need to be able to reference and grab quickly like a questionnaire or a spot to set down your notebook.
- Also consider details about your location. If you live somewhere rainy, have a spot for clients to put their umbrellas. If you live somewhere super cold, have a coat rack for clients to unload their layers.
Step #6: Consider design elements
Traffic flow
- Is it easy to navigate through the room? Is it obvious where the client chair vs. the therapist chair? Is there a clear route in and out?
Client seating
- Place your client seating against the wall. This helps clients feel safe. Like a little cocoon.
- Choose seating that allows clients to adjust how close or far they are from you. Whether that’s a chair that’s easy to move or a couch where the client can sit closer or further from you.
Surface for personal items
- Consider having a place for your clients to set their things, whether a coffee table or a side table.
- At the very least, you need a spot for tissues to be at the ready.
- I also like to have a spot where it’s easy for me to see a small tabletop clock so I don’t have to glance up at a wall clock to keep track of time.
Lighting
- Lighting is SO important.
- Natural light is great if you have it.
- It’s better to light a room from several light sources than bright overhead light. When we light a room with exclusively overhead lights, it’s a strain on the eyes.
- Think of placing a couple different types of light to make the room feel cozy, like a desk light, or a floor lamp.
Textiles
- Textiles are what take a space from a sterile office feeling to feeling homey and cozy.
- Other textiles to consider using include: rugs, curtains, pillows, blankets, and wall hangings.
- Textiles also make a huge difference in the sound quality of the room, and help with sound proofing as well.
Wall decor
- You don’t have to break the bank with this! You can buy some frames that coordinate with your design scheme and purchase some inexpensive printable wall art from etsy and have it printed at a place like Kinkos.
- It’s also a great idea to have your credentials somewhere visible, even if not front and center.
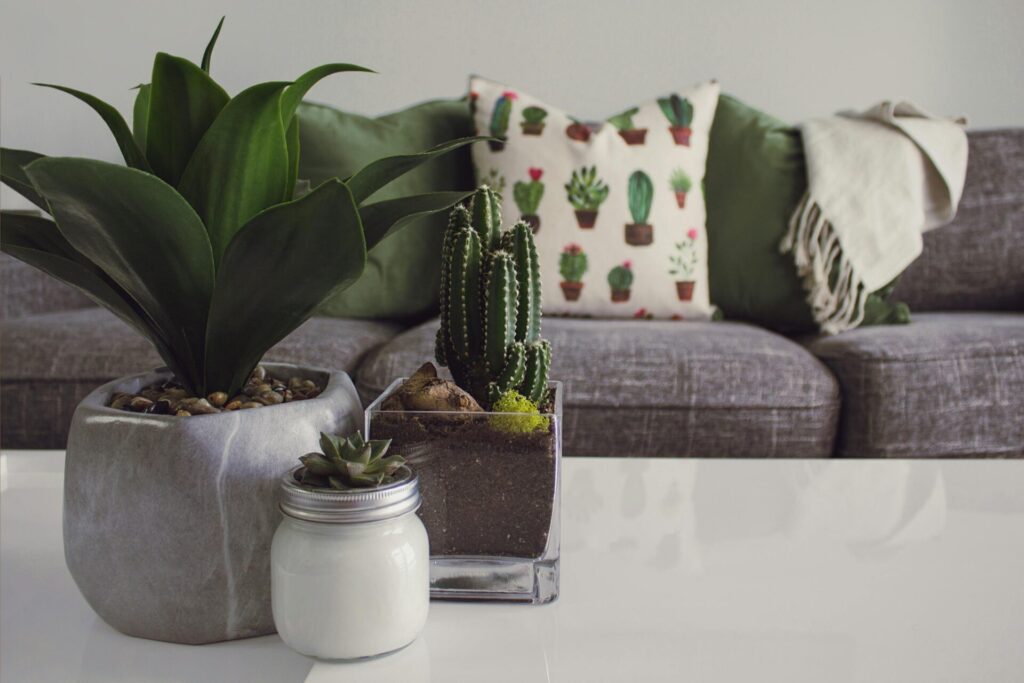
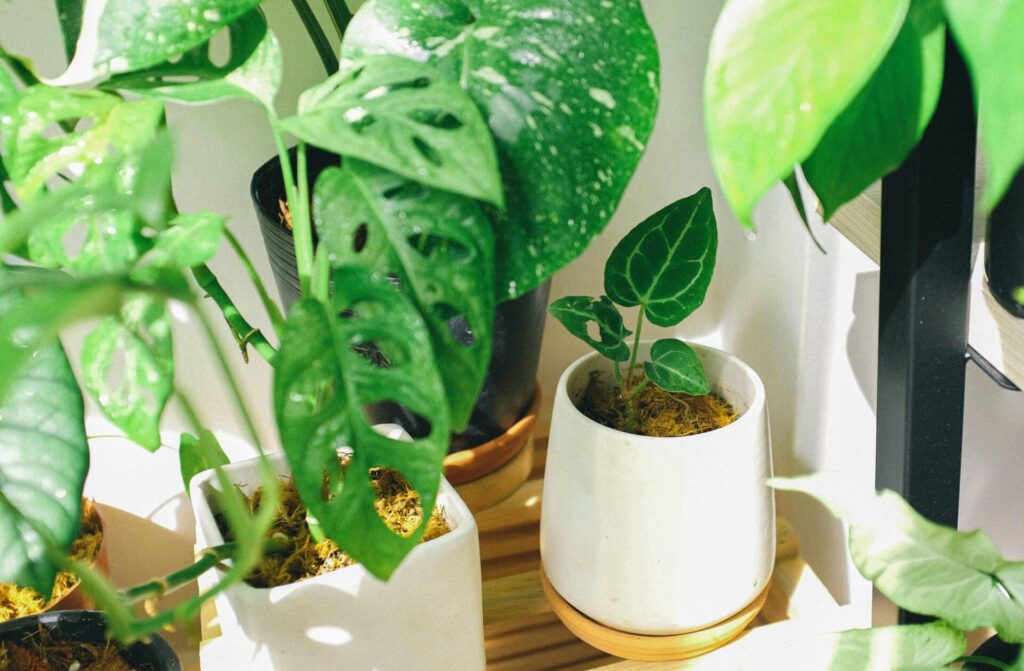
Plants
- Even having one plant signifies the presence of life.
- If your office has no window, a snake plant or pothos might be able to survive a long time just from the artificial light.
- Just be sure to swap out plants if they’re starting to look a little more dead than alive.
Step #7: Experiment with layouts
- At this point I like to experiment with a bunch of different layouts just using the available furniture in the design app.
- Again, I’m not trying to nail the colors or anything yet, just the overall layout. What furniture pieces do I need, how do they flow together in the space?
- I love using a digital design app like RoomSketcher because once you get things set up from a birds-eye view, you can set up a little digital camera and take photos to see what it would look like standing or sitting in different parts of the room.
- I save these photos, move all the furniture around, take more photos, and then compare.
Step #8: Go shopping
- Start with your most expensive items first so that you stay on budget.
- If you’re buying new items, I try to have all my items in the cart together before purchasing so I know exactly how much I’m going to spend.
- As I’m looking at an item while shopping, I plug in the dimensions of the piece into the sample furniture I used as a placeholder in RoomSketcher. This is where all your perfect measurements come in handy.
- As you search for pieces, you can check back that they align with your overall design plans. Make sure there’s a general balance between everything.
Step #9: Check for anything missing
- Once you have everything set up, check to see if there’s anything missing.
- Is the space complete? Does it need a knick knack or two to make it feel more homey?
- I like to include items I made because I love knitting and crocheting, so it adds a personal touch. Maybe you bought a sweet little vase during your travels that fits with the design style and would be perfect in that empty corner. Feel free to add a couple of things here and there to make it feel more like yours.
Step #10: Avoid clutter!
- And of course, at all costs: avoid clutter!
- If you are clutter prone, consider having a storage area where at the very least, you can throw your clutter out of sight during your sessions. I 100% do this. I have a junk drawer.
Whew! I covered so much stuff in this article! If you still feel lost in trying to design a therapy office: find a friend! If you have a therapist friend who has an office you like, ask them to share how they created their space.
It can get overwhelming to design a therapy office. This is a skill set they don’t teach us in school. But, I do think it is important to create a space that feels comfortable and a good fit for the clients we work with.
Creating welcoming spaces
If you want to think more specifically about what furniture pieces are needed to create a comfortable space, I have an article about 5 essential furniture pieces that are needed for a therapy office.
When you design a therapy office to be inviting and welcoming you are creating a hospitable space for your clients. I believe hospitality is a critical component of the therapeutic process. Check out my video about 12 ways you can show hospitality as a therapist.
And until next time, from one therapist to another: I wish you well!
-Marie
Photo by Designecologist on Pexels
Image by Marta Longas on Pexels
Photo by Huy Phan: on Pexels
Leave A Reply